[Git] Tutorial 1 - Building github blog in 15 minutes
by Dojin Kim
Today I will explain about how to create a github blog. If you follow my instructions well, you will be able to create your own github blog in **15 minutes**. I am also not an expert in this field, but I want to help people who are in complete beginner's stage than me.
Prerequisite before starting this tutorial:
- Installation of git (go to start git post to install the git)
Step 1: Create a github account
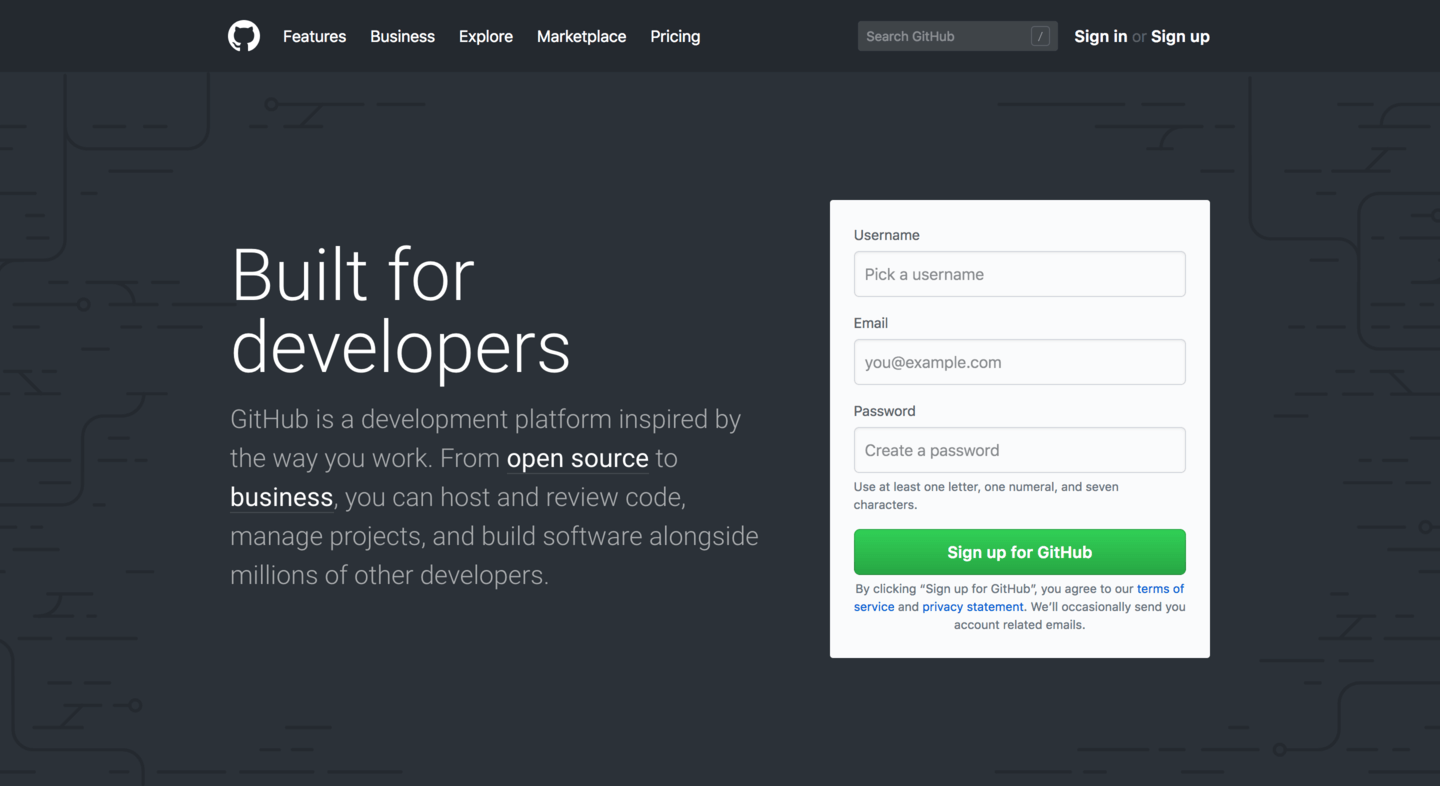
1) Go to https://github.com/ and pick a username, email, and a password.
- Note that your username will be the address of your github blog. So, carefully think of your username. For example) My username is dojinkimm, then my blog address will be dojinkimm.github.io!!!
2) Sign In
Step 2: Find a blog style
- We are going to create a blog using a Jekyll. Just remember that we are using Jekyll but I am not going to explain it deeply(no need to know).
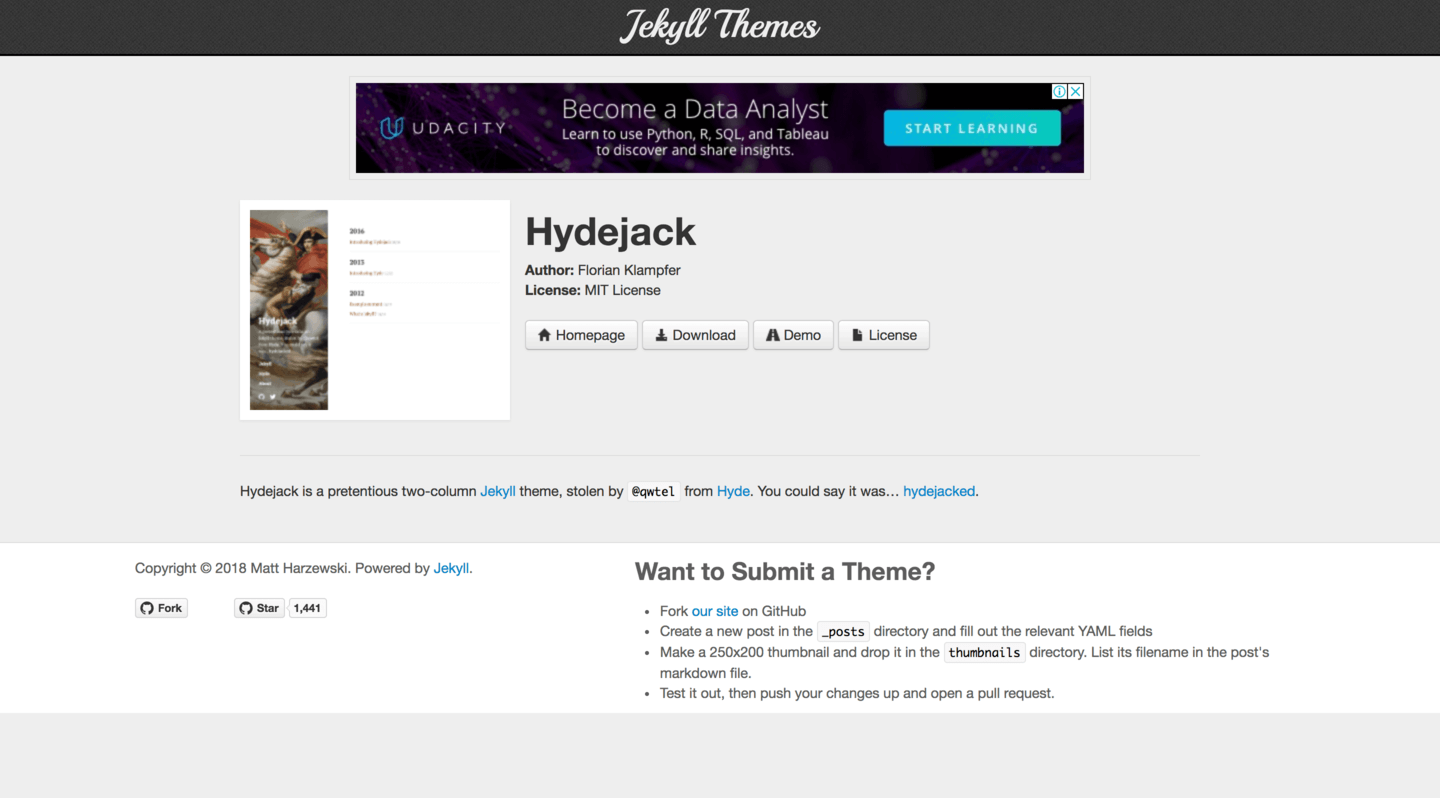
1) Go to @http://jekyllthemes.org/

2) Find a blog style that you like and click it (I am using hydejack so I will click it)
3) Check if it is MIT License and click Homepage
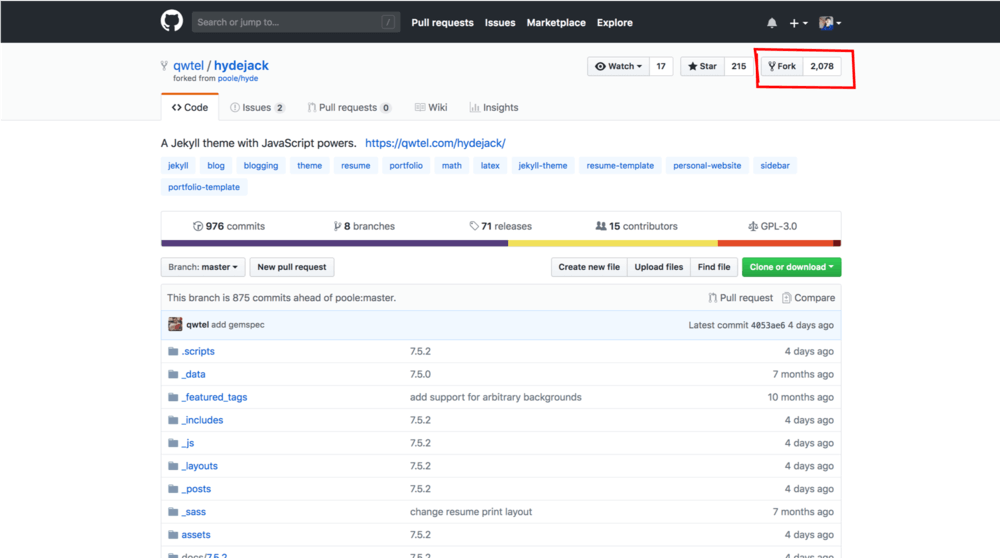
4) Click a fork button that is in top right corner, and wait a little.
Step 3: Create your github blog
1) Go to Settings
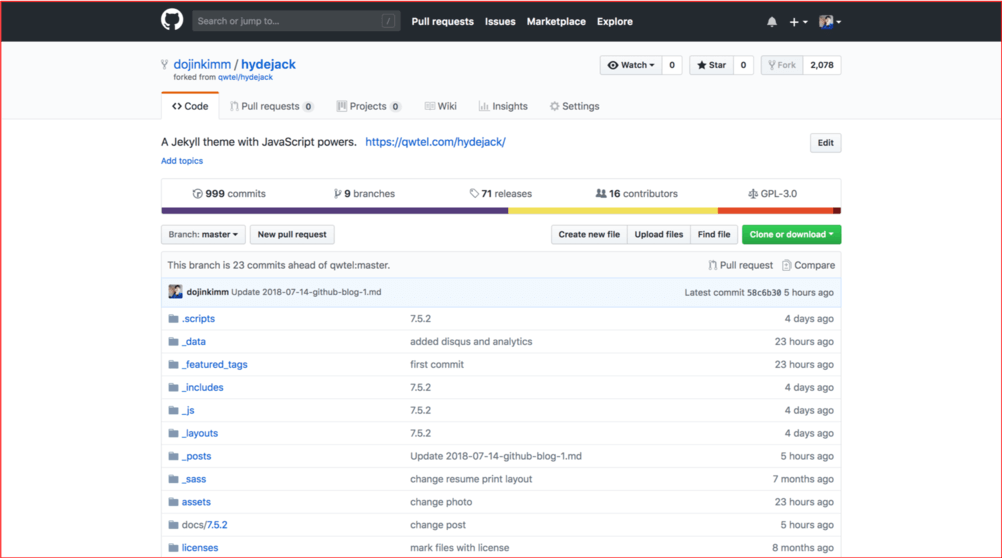
2) Change a name so that it will be [your_username.github.io] (no need brackets)
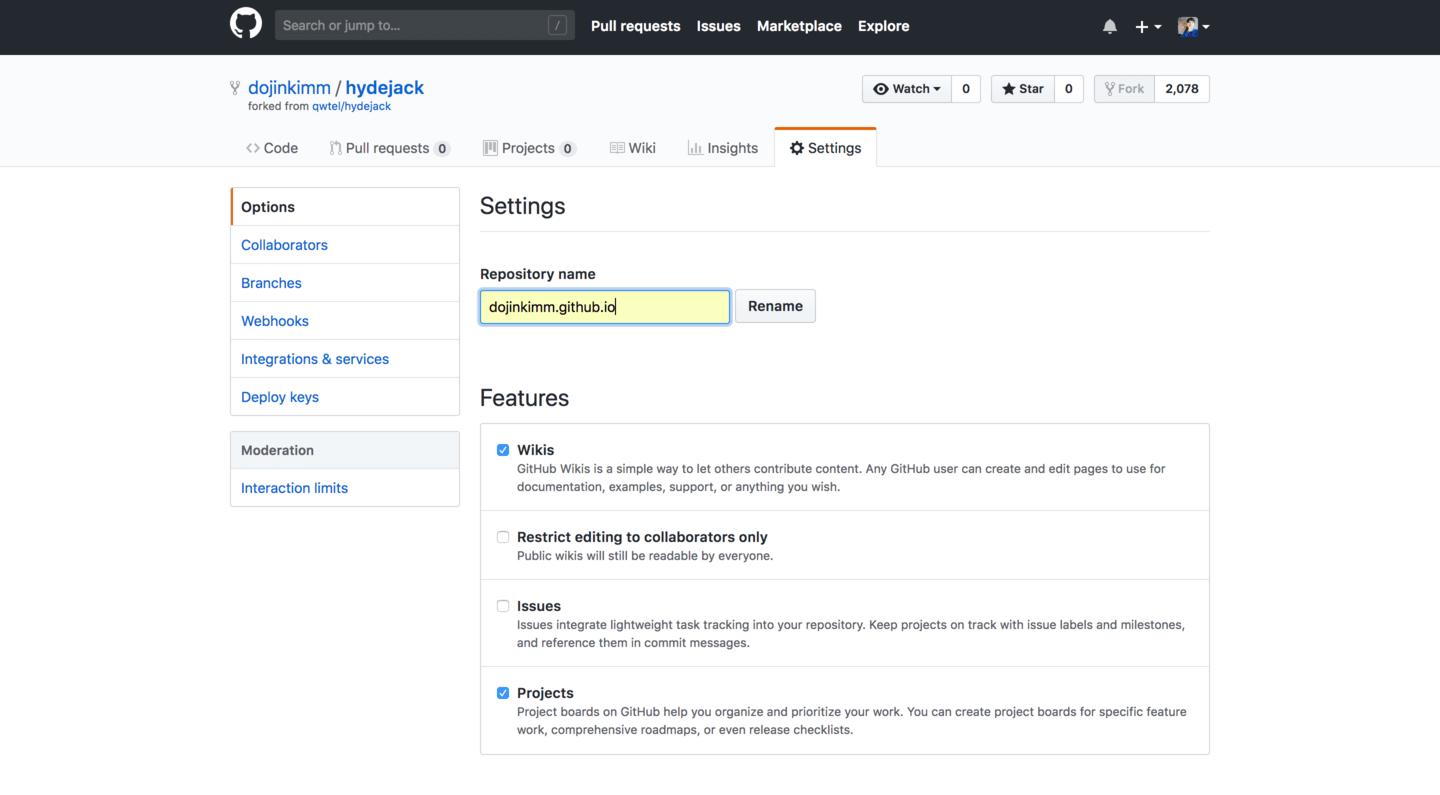
3) Wait a minute and type [your_username.github.io] in your browser.
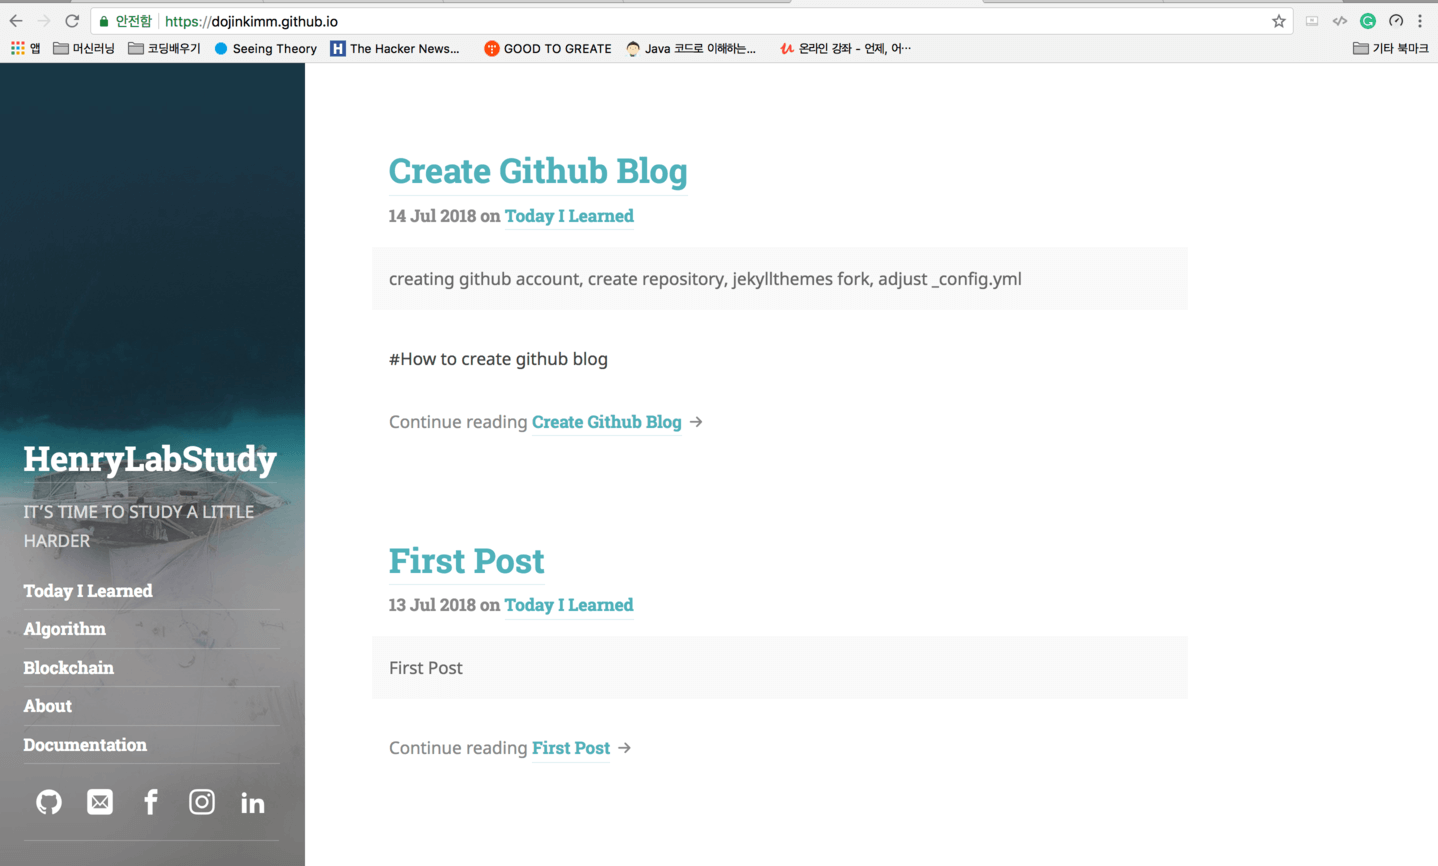
Now you created your own github blog!!! Congratulations
More Details will be continued in NEXT Tutorial 2
Subscribe via RSS